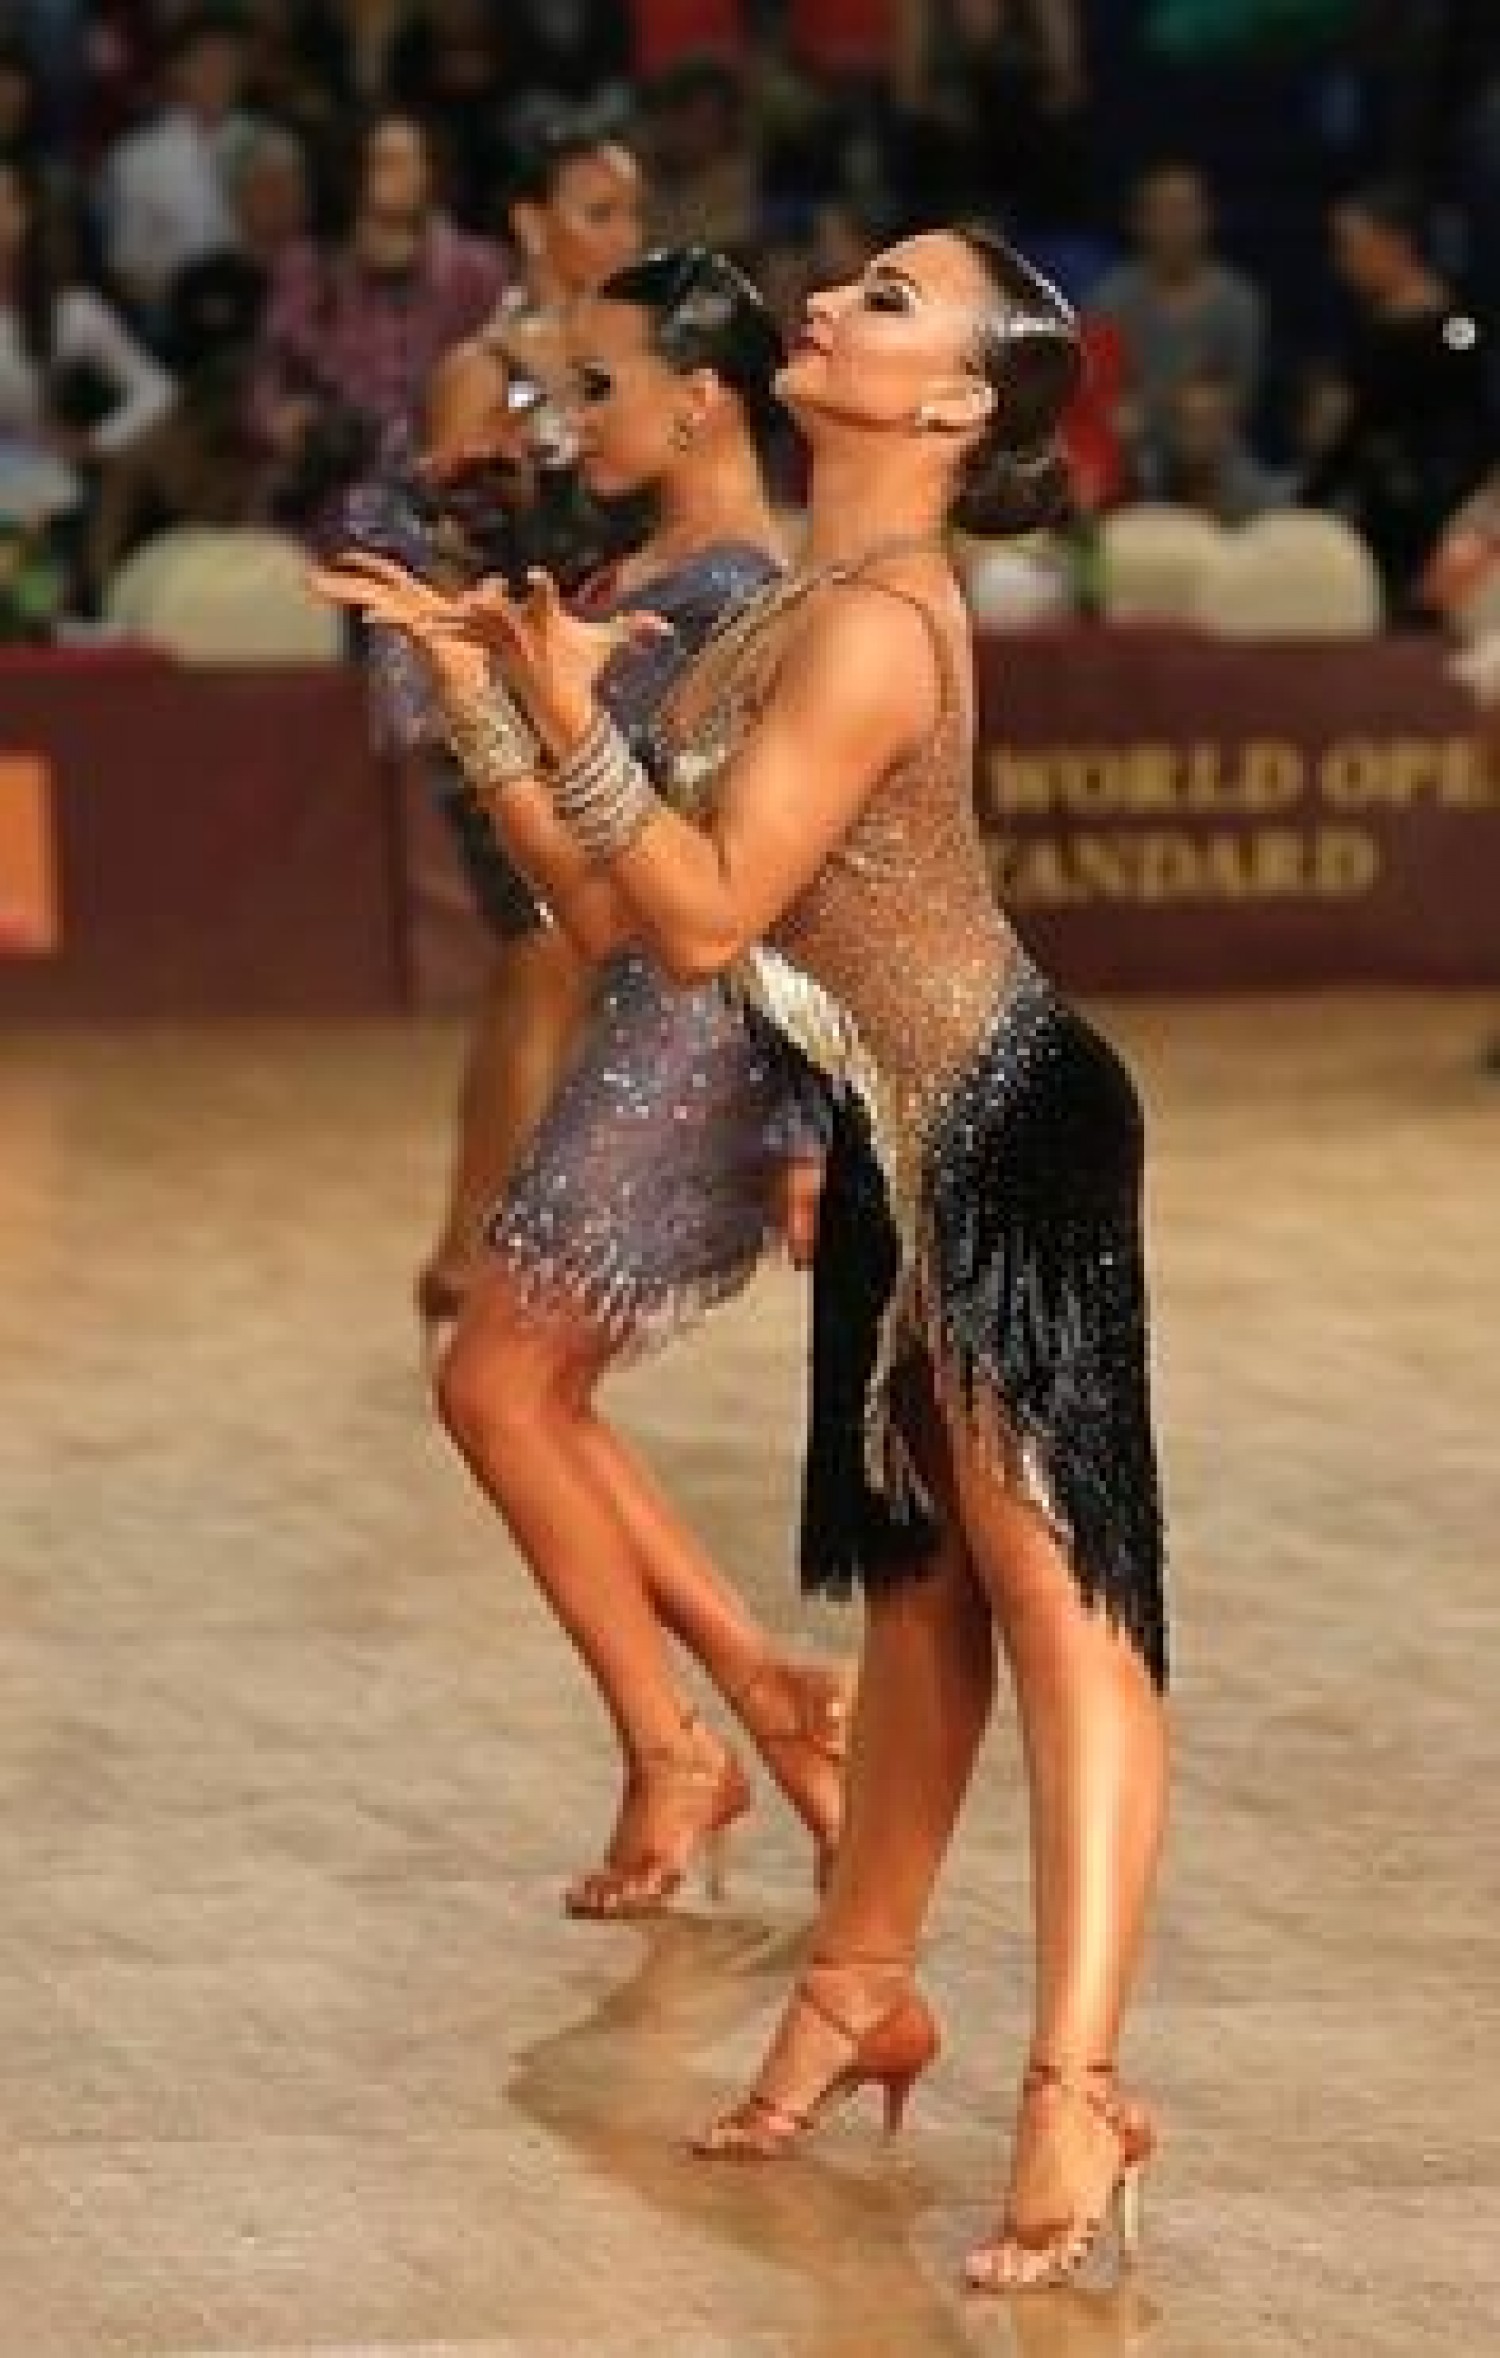
Cuban Motion: The Next Level

By now Cuban motion should make a lot more sense to you. You’ve learned the basic exercises you need to create smooth and sexy hip movement. You’ve also learned where we frequently misinterpret what we were taught, and fall into bad habits.
So now we are ready to add another layer of detail to our Cuban motion technique. Once you’ve mastered the exercises below, you won’t just be able to create sensual hip movement – you’ll make it look easy.
1. The order of operation
In order to create smooth and natural hip motion, a set actions have to occur in order. When taking a step:
- The heel of the stepping foot touches the floor (no weight!)
- The rib-cage shifts over the stepping foot.
- The knee straightens, causing the hip rotation.
Here’s the important bit: Each action can overlap slightly with the next. For example, the heel might not completely touch the floor before the rib-cage begins shifting. But each action should start and finish in the order listed above (i.e. the heel will start lowering before the rib-cage starts shifting).
2. Extend the energy backwards
If you’ve tried everything in the last two articles and the hips still aren’t turning, this exercise will make the difference. When you straighten the knee, focus on pushing the hip backwards, not upwards or sideways. Focus on keeping your head level (not bobbing up and down), and imagine you are extending your leg into your body. Combining this technique with ones used previously, your hip will have no choice but to rotate.
3. Drive a wedge
Correct form in Cuban motion requires the bending knee to be tilted slightly inward, to block gaps between the legs and create a more elegant look. To do this, drive the inside edge of the ball of your foot into the ground, as you slide it along the floor to make a step. As you transfer your weight, roll onto a flat ball. NEVER put weight on the inside edge of your foot – it can cause damage to your body over time.
4. Hips forward
In slower dances like rumba, the hips usually change from a rotational movement to a rolling shape that resembles a figure 8. A key part of this is letting the hips sink slightly forward as the weight changes, but BEFORE the knee begins to straighten. This allows the hip to make a bigger circle rolling around (the first half of the ‘8’), until the next step, which brings the opposite hip forward and around (the second half).
If something isn’t working here, try going back to the previous two articles and check to make sure you’ve mastered the underlying technique. Remember: You can’t build a house on weak foundations. Good luck!
About the Author
Ian Crewe has been dancing ballroom for almost 20 years, and has a Licentiate in American smooth and rhythm. His passion for dance and his endless seeking for ways to reach new audiences eventually led him to blogging and the World Wide Web. Ian currently teaches at the Joy of Dance Centre, Toronto, ON, Canada.

